Canarytokens have proved themselves over the last decade as an easy-to-deploy breach detection tool. Our free Canarytokens service has supported AWS API keys since 2017. The concept is straightforward: you sprinkle decoy API keys in your code repos / Lambda configurations / virtual machine disks; when the credentials are used by attackers, you’ll get an alert in your mailbox. They make an excellent (and simple) way to identify malicious actors inside your infrastructure, in the early stages of the attack when attackers are gathering information about your environment.1
This week we’re excited to broaden our support for decoy AWS assets by introducing the AWS Infrastructure Canarytoken, available immediately on https://canarytokens.org without signup (for free!). The AWS Infrastructure Canarytoken is quite simple: we help you deploy decoy resources in your AWS account. These assets will look enticing to attackers; when your AWS account is compromised and they explore your account, they’ll see the decoys, interact with them, and you’ll get an alert. Previously you could create decoy resources and alerting rules manually; with our new addition the process is much quicker and more straightforward.
The way it works is that we help you design a Terraform module that you apply to a specific region of your choosing in your AWS account. The module will set up decoy assets (DynamoDB tables, S3 buckets, SSM Parameters, SecretsManager Secrets, and SQS Queues) in your AWS account’s region, and configure your Cloudtrail logging such that events related to the decoys will generate alerts delivered to your mailbox via Canarytokens.org.
In this post, we’ll walk through how to create and deploy an AWS Infrastructure Canarytoken, and describe how we address the security risks associated with cross-account data flows.
Pre-requisites
To create a new AWS Infrastructure Canarytoken in an AWS account you’ll need:
A working AWS account (let’s call it 123456789012 for our examples below) with a region where the decoys will be created (we’ll go with the venerable us-east-1 in our examples below).
An AWS CLI session with permission to create a new IAM Role, IAM Policy, and attach the policy to the role, all in your AWS account. I.e. $ aws sts get-caller-identity works, and is empowered to make IAM changes. The easiest way to get a session is via CloudShell from your AWS console.
Terraform is installed, and set up to add resources in the AWS account. You might have added credentials as environment variables, or inside Terraform files, the provider has several options.
Your target AWS region is already enabled. If you’ve recently enabled the region, it can take up to several hours before it is fully enabled.
Creating an AWS Infrastructure Canarytoken
There are three steps to creating the AWS Infrastructure Canarytoken. First, you’ll set up the AWS integration with Canarytokens.org. Then you’ll create a decoy infrastructure design. Finally, you’ll deploy it with Terraform.
Under the “Canarytoken Settings”, enter the AWS account number and select the region (the region must already be enabled in your account, review your list here):
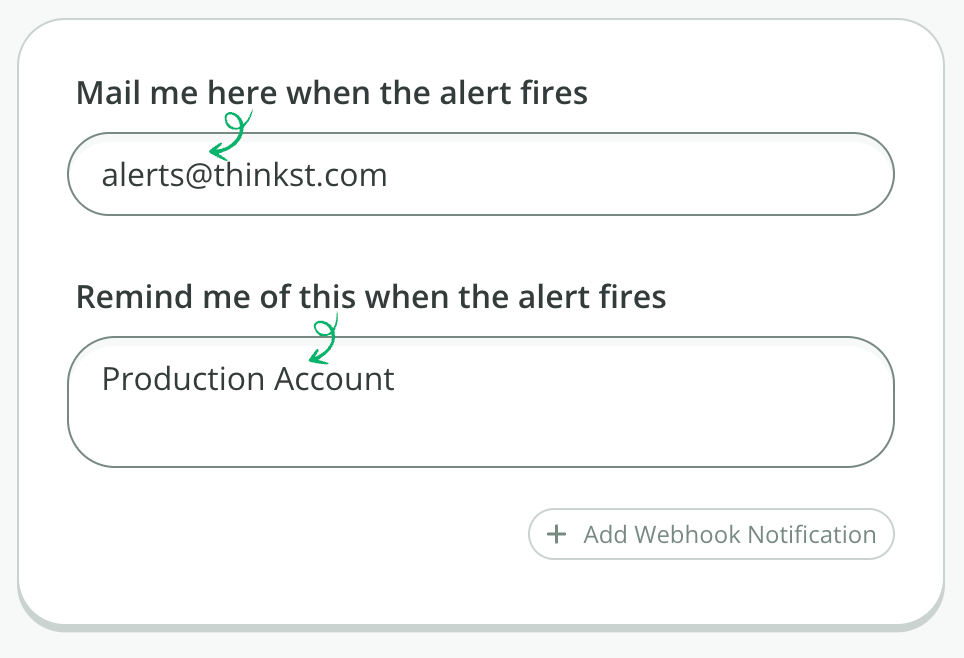
For the alert details, enter an email address where we’ll send the alert, and a reminder message we’ll include in the alert. We recommend a description of the AWS account, so you quickly can tell which account was affected:
Click “Start creating Canarytoken”.
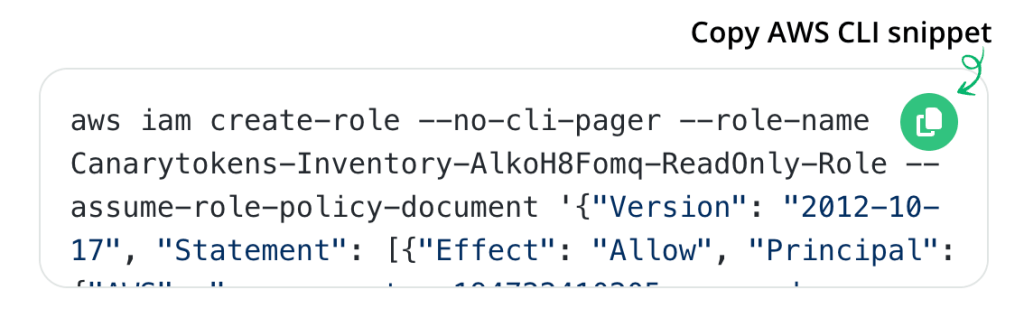
The next screen shows three AWS CLI commands, which you need to run in the authenticated AW CLI session. Click “Copy AWS CLI snippet”, and paste into your shell:These commands will create a new IAM Policy, a new IAM Role, and attach the role to the policy. This will allow Canarytokens.org to fetch the names of certain asset types in your account, in order to generate decoys with similar names. The policy contains the asset types we list, and is a least-privilege policy. For example, it allows us to list your current S3 bucket names, but not read anything inside the buckets (including object names). Ditto for DynamoDB tables, SSM Parameters, SecretsManager secrets, and SQS Queues.
When you’ve created the Policy, Role, and attachment, click “Continue”.
Canarytokens.org will connect to your AWS account, and perform a name-only inventory of your S3 buckets, DynamoDB tables, SSM Parameters, SecretsManager secrets, and SQS Queues. It will then generate a proposed decoy design for you (see below for more details on how we do that), and show you an editor to make changes to the design.
Step 2: Creating a decoy infrastructure design
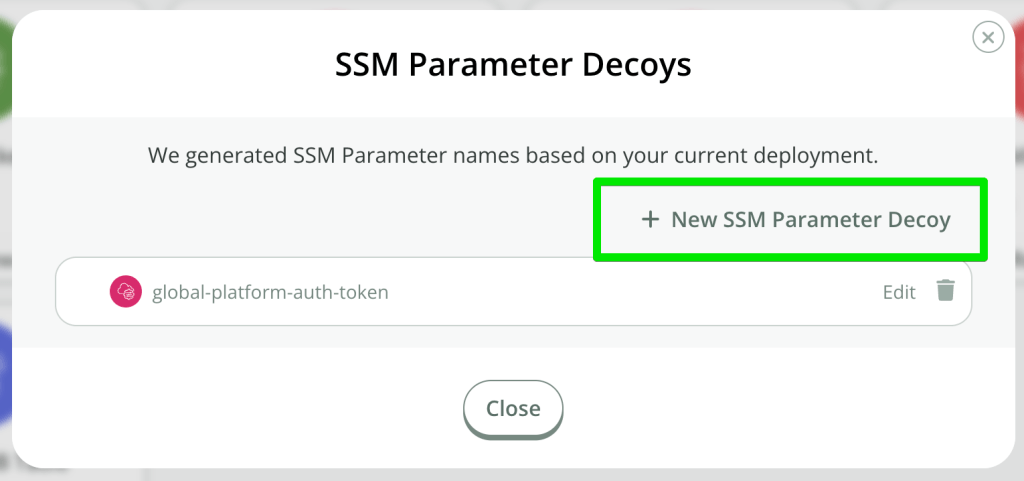
In the design editor, click on the decoy types to review the design. If you’d like to add additional decoys, simply click the “+ … Decoy” button:
If you’d like to edit the name, or remove this decoy, use the “Edit” or trashcan icons respectively:
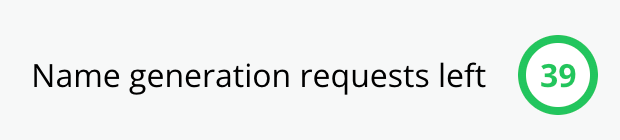
We use Google Gemini to assist with generating names; each Canarytoken gets up to 50 name generation requests and we show your status as you build your design. Note that generating the first plan consumes part of your quota, so you’ll always see less than 50 on the initial page load:When the count drops to zero, then we’ll continue to simply generate random names, no longer relying on Gemini.
When you’re happy with your design, click “Save configuration”.
Step 3: Deploying the design with Terraform
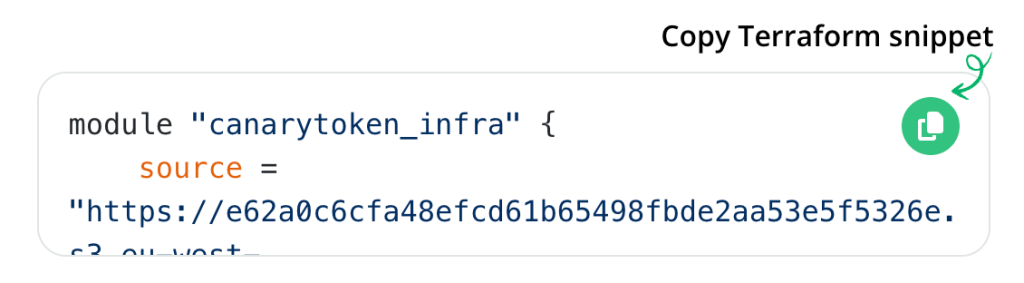
On the final step, we save your design into a Terraform module which we host for you. What remains is for you to add a reference to the module in your Terraform file, and apply the plan:
Click the copy icon:
In your Terraform plan, include the module, and save:
Run $ terraform init to install the module.
Run $ terraform apply to deploy the decoy infrastructure.
Your decoy assets are now in place.
You can test by browsing one of the decoys in the AWS Console, or examining it through the AWS CLI. For instance, if one of your decoys was an S3 Bucket with an object inside, you could list it to trigger the Canarytoken like this: $ aws s3 ls s3://devproject/service-creds
With that, your first AWS Infrastructure Canarytoken deployment is done! Let’s take a closer look at what’s happening behind the scenes.
How we generate decoy names
When building this new Canarytoken type, we wanted to make the decoys blend in with your current AWS infrastructure.2 This feature stands on two legs: an inventory of your AWS account, and a name generator.
The inventory process sets up a temporary read-only connection between Canarytokens.org and your AWS account, which allows us to list the names of specific asset classes in the region you picked (except for S3 buckets, which are globally unique).
Once we have your current asset names, we’ll pass them to Google Gemini to propose additional names that are similar to yours. We also base the number of proposed decoys on your current count. There is a cost associated with each name generation request made to Gemini. We don’t pass it on to you, which means we have to watch our spend. We solve this through assigning a quota to each Canarytoken for name generations.
The proposed decoy names will match your current assets, along with additional enticing names.
Cross-account access
Separately from name generation, we’ve adopted an architecture in which we isolate functions in specific AWS accounts, to limit risk in any single account. To this end, we have to carefully consider how your AWS accounts can send us data.
There are two directions for access. When creating the Canarytoken, you set up temporary read-only access to allow Canarytokens.org to pull information from your account. This access is short-term and only available during the creation or edit stages. We use AWS’ recommended pattern for access to third party accounts; it hinges on a so-called ExternalId. (which is part of the IAM policy you create). When you’ve created your Terraform module at Canarytokens.org, we delete the ExternalId so we don’t retain long-term inventory access. You could remove the IAM policy and IAM role yourself if you like, but we still wanted to proactively sever the connection from our side, and using an ExternalId does just that.
The second direction of access is long-term, and involves your AWS account pushing select Cloudtrail events to Canarytokens.org. This is how we monitor the decoys for access. We take care to set up Cloudtrail such that only events related to the decoys are sent to us. An EventBridge rule in your account filters events, before sending them on to us. The filter is an allowlist; we’ve taken care to specifically limit it to known events about the decoys, ensuring that we won’t accidentally see events related to non-decoys. Naturally this is inspectable by looking at the Terraform module.
Costs
Deploying this Canarytoken into your account will consume AWS resources and count towards your quotas or billing. This will typically be single-digit dollars per month. The highest fixed cost is SecretsManager Secrets, which AWS charges $0.40 per secret per month. Apart from that, all others are API call-based pricing. Decoy resources aren’t hit regularly by design, so their charges will typically be cents per month.
For obvious reasons, your AWS bill is for your account. We pay for our usage of AWS to process your incoming EventBridge events when they hit our account, and we pay for Gemini.
Editing the decoys at a later stage
We’ve also included the ability to later edit your Terraform plan. By accessing the Manage link for your Canarytoken, you can re-enter the editor. Note that you’ll need to tell us the ExternalId so that we can re-inventory the account. The wizard describes this in more detail.
Final thoughts
We’ve been noodling on this for a bit, as an extension of the previous work we’ve done, and we’re excited to release it. Dev, Lisa, and Vittoria have created a powerful new Canarytoken type. Like our other Canaries and Canarytokens, they deploy quickly and give you the heads-up when you need it most. We’d love it if you took it for a spin!
Footnotes
On the commercial side, we’ve also supported S3 Bucket Canarytokens for a long time, in addition to the AWS API Keys. ↩︎
We don’t believe this is a requirement for Canarytokens generally, however it seemed like a fun challenge. ↩︎